Saturday, July 26, 2014

Grilled Corn with Jalapeño Lime Butter

I am a big believer in "don't fix what's not broke" philosophy. If something stands on its own, is great on its own, why change it?  Kind of like fresh corn on the cob--can it really be made better from the traditional butter, salt and pepper recipe? I would argue yes, but I also understand those who would argue 'no'!


So, when Jon stopped in the other weekend, we decided to grill our corn and try some variations on the butter, salt and pepper stand-by. We made a Mint-Feta topping. Tried a Roasted Red Pepper spread. But...the Jalapeño-Lime-Garlic Buttered Corn stole the show! Maybe, because we simply have this thing for all-things-jalapeno right now!


Perhaps you may never alter your corn habits, but if nothing else, knowing how to make an infused-compound butter is a skill worth learning, easy to prep on the drop of a hat, and is an exceptional addition for any pork chop, chicken, or steak.

(Adapted from Rachel Ray Food Network recipe)

Equipment:
Mixing bowl with upper arm strength and fork
     or
Blender / Magic-Bullet blender

Ingredients:
1 stick unsalted butter, softened
1 small jalapeño, finely diced (if mixing by hand)
1 medium garlic, minced
1/2 - 1 lime, juiced
1/2 lime, zested
1 tsp paprika
1 tsp salt (if using 'salted' butter, you will need to reduce this amount)
Fresh parmesan or cojito cheese

Fresh corn, grilled in husk, grilled out of husk, boiled in water, cooked in microwave--whichever way you want!


Instructions:
1. Wash your hands.
2. Prep all your ingredients for the bowl or the blender. Make sure the butter is room temperature.


3. Combine all of the ingredients except for the cheese and corn (duh!) into a mixing bowl or blender until smooth.


4. Have a plastic wrap sheet (Seran Wrap) ready for the mixture.


5. Roll into a log and place log into fridge or freezer.


6. Prepare your corn whichever way you like. I'm partial to the grill without the husk now.
7. Spread the corn with a thin layer of olive oil before hitting the grill. Cook until done.


8. When butter mixture has firmed up, slice 1/8" to 1/4" wheels to rub the corn with.
9. Sprinkle with cheese and anything else you like.


Sunday, July 20, 2014

Lemon Artichoke Crostini

Having visitors, whether friends or family, means having snacks, beverages and entertainment planned; and, of course, time to chat and catch up!

It's really no different when Jon stops by, and I try to make a few favorites as well as find something new he might like! Don't you get tired of Chips & Salsa or a bowl of hummus and pita chips??


Let me introduce you to the versatility of crostini or bruschetta--a great option for snacking.
Classic Tomato Bruschetta can involve some 'leg work' in terms of chopping and prepping, so when i discovered 3 of Jon's favorite ingredients combined into one...in a blender...involving little prep and work...look out! We all win!

Tip:
Your food is only as good as the quality of ingredients you buy!
When making bruschetta or crostini, buy quality bread, ideally from a a local bakery!

Equipment:
Nutri-Bullet
--OR:
--upper arm strength
--fork and mixing bowl
--sharp knife for mincing and chopping

Ingredients:
Good quality baguette or ciabatta

1 (14oz) jar of artichoke hearts, drained
3 Tbls extra-virgin olive oil
1 medium lemon juiced
2 Tbls fresh basil, chopped
1 garlic clove, minced
1/2 cup parmesan cheese, finely grated
1/2-1 tsp salt to taste, start with 1/2 tsp
1/2-1 tsp pepper to taste


Instructions:
1. Wash your hands. 
2. Coarsely prep your ingredients.


3. Combine ingredients into blender & pulse. (This may require shaking cup intermittently or adding a little extra juice or oil to enhance blending). 


4. Slice the baguette into 1/2" pieces.


5. For extra flavor, rub each side with fresh garlic and drizzle with olive oil & salt.


6. Toast until golden brown.


7. Assemble the crostinis and drizzle with a little olive oil and parmesan shavings!


Sunday, July 13, 2014

Summer Salad with Halloumi

I simply can't get enough of the warm weather...FINALLY, right?


I love it all: being outdoors, sitting on the deck, heading to the farmer's market, just being outside! 
And when it comes to summer produce, well, tomatoes rock my world--sometimes I eat them like an apple, or turn them into my bruschetta 'Summer In Your Mouth', or add cottage cheese for a light snack. And of course, a sandwich or burger has not quite reached its potential if the tomato is missing.  

Anyhow, I stumbled upon a new favorite this summer--a simple combination of heirloom, beefsteak, and cherry tomatoes with a hot, seared, and briny Greek cheese called Halloumi--found at Trader Joe's or Whole Foods.


I call it my alternative to the traditional Caprese Salad Jon and I love this time of year.  Halloumi comes pre-packaged, oftentimes sliced perfectly for immediate use.  It's delicious all by itself when seared and eaten with fresh bread, too.  


Whatever you do, keep it simple with just a drizzle of olive oil, lemon juice or add a few teaspoons of my Summer Pesto--AWESOME! A great summer salad or meal for college living.

(Original recipe idea for using Halloumi found in Cooking Light and Epicurious magazines--seems to be the new fad...and for good reason...DELISH!)

Equipment:
Non-stick skillet

Ingredients:
Handful of arugula
Fresh Beefsteak, Heirloom, Cherry Tomatoes
1-2 Tbls of fresh basil pesto
Olive oil
Fresh lemon juice
Salt & Pepper to taste

Halloumi cheese


Instructions:
1. Wash your hands and produce.
2. Assemble your plate with arugula and fresh sliced tomatoes.

3. Add a few tablespoons of fresh basil pesto.


4. Sear your halloumi slices until golden brown crust appears.


5. Add a spritz of lemon.

6. Add the cheese on top of your tomatoes.
7. Drizzle with olive oil, lemon, salt & pepper to taste.


8. Your welcome!

Wednesday, July 9, 2014

Decadent White Chocolate Chip Brownie Bites

Ready for some simple goodness. Tired of taking a tray of box mix brownies? These are sooooooo much better. All from scratch. No special equipment. Perfect for college living. Fool-proof baking! The only problem with this recipe...too few cookies out of a single batch. So, double-up folks and watch the compliment tide roll in!


I substitute a mixture of white chocolate and semi-sweet chocolate chips for 2 cups of toasted  walnuts since my family apparently has an aversion to nuts in baked goods. And, I have tried these with the Mini-Reeses cup--delicious!!!!

(Adapted from a recipe I tore out of a magazine years ago. Recipe from Baker's company and titled 'One-Bowl Chocolate Brownie Cookies.)

Equipment:
Large mixing bowl
Whisk
Upper arm strength or borrow a handmixer
Ungreased baking sheet
Cups & measuring spoons

Ingredients:
6 oz of Baker's Semi-Sweet Baking Chocolate
4 oz of Baker's Unsweetened or Bittersweet Baking Chocolate
6 Tbls butter


1 1/4 cup of granulated sugar
3 eggs
2 tsp vanilla
1 cup flour
1 tsp baking powder
1/4 tsp salt

1/2 cup semi-sweet chocolate chips
1 cup white chocolate chips

Instructions:
1. Wash your hands.
2. Preheat the oven to 325F degrees.
3. Microwave chocolate and butter in a large microwaveable bowl until almost melted.


4. Stir until mixture creamy and smooth.


5. Stir in sugar until a thick paste is blended.


6. Add in eggs and vanilla.


7. Add in flour, baking powder and salt slowly until blended.


8. Add your goodies: chocolate chips, white chocolate chips or mini-reese's.
9. Don't eat all of the batter.


10. Drop rounded tablespoons of batter 1 1/2 inches apart on ungreased cookie sheet.
11. Bake 10 minutes. DO NOT OVERBAKE. You want these slightly moist inside.


12. Allow to cool for 5 minutes before removing from cookie sheet. Ideally, onto a wire rack.


13. Sprinkle with powdered sugar or leave plain.


14. Got Milk?

Sunday, July 6, 2014

Blueberry Crumble

As I have said a few times already...get out there and take advantage of the rich summer fruits and vegetables. Hit your farmer's market weekly which allows you to support local farmer's, provides better produce, and is overall, tastier than anything from the store!


Right now, the midwest is seeing a rise in blueberries, and when Jon was visiting I was able to try all kinds of new things, including this throw-together Blueberry Crumble.  Folks, it doesn't get any easier to make a simple, fresh, delicious dessert with little sugar.

Equipment:
Mixing bowl
8" x 8" Pyrex baking dish
Pastry cutter, or I just use my hands


Ingredients:
5 cups blueberries

1/2 cup granulated sugar
4 tsp cornstarch
1/8 tsp salt

2/3 cup of flour
1/2 cup old-fashioned rolled oats
1/3 cup packed light brown sugar
1/2 tsp ground cinnamon
6 Tbls unsalted butter, diced and chilled

Instructions:
1. Wash your hands.
2. Preheat oven to 375F degrees.
3. Whisk granulated sugar, cornstarch, and salt together.


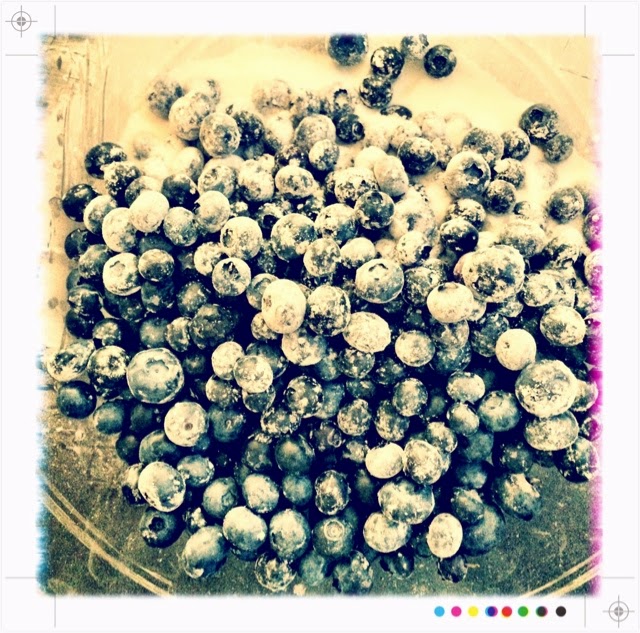
4. Toss blueberries in the sugar-cornstarch mixture and pour into pyrex dish.


5. Combine flour, oats, light brown sugar, cinnamon.


6. Add the butter and use your hands or pastry cutter to create a coarse crumble.


7. Scatter the crumble overtop the blueberries.


8. Bake @375F degrees until bubbly and the crumble is golden brown, approx 30 minutes.


9. Let cool x 20-30 minutes.


10. Serve with vanilla ice cream or whipping cream.